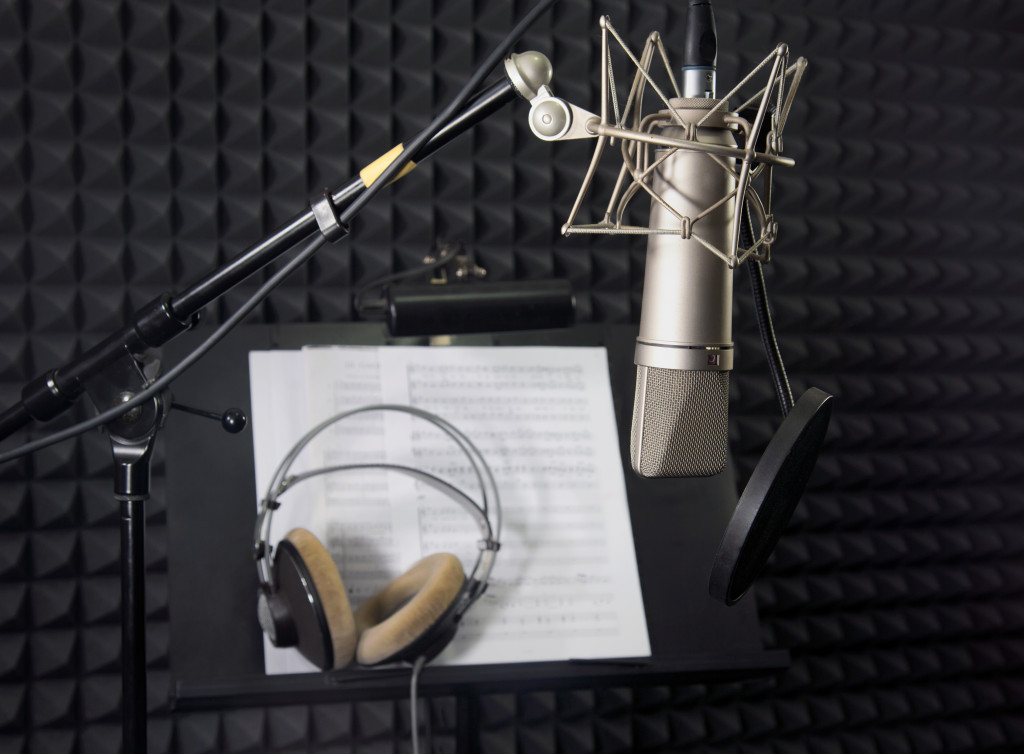
If you’re in the business of constructing commercial recording studios, it’s essential to understand the concept of sound attenuation. Simply put, sound attenuation reduces the amount of noise that passes through a given space. In a recording studio, this is accomplished by strategically placing sound-absorbing materials throughout the room to deaden noise reverberation.
Why is this important? Because recording studios rely on acoustics to produce high-quality recordings. If sound reverberates off hard surfaces like concrete walls and floors, it can create an echo effect that adversely affects the audio recordings. By attenuating the sound within a recording studio, you can minimize or eliminate this echo effect and produce professional-sounding recordings.
So, how do you achieve sound attenuation?
Construct thick walls

One way to attenuate sound within a recording studio is to construct thick walls. Using materials like concrete, you can create sturdy and practical barriers to absorbing sound. The wider the wall, the better it will be at attenuating noise.
If you’re looking to create a recording studio that is both quiet and professional-sounding, then consider using thick concrete walls as part of your construction plan. Not only will they help to deaden noise reverberation, but they will also help to keep your studio insulated from outside noise interference.
The walls of a commercial recording studio should be at least 1.6cm thick to achieve the best sound attenuation. Other materials you can use for this include:
- Brick: Solid brick walls offer good soundproofing characteristics. It’s also a versatile material to customize your walls with color and texture.
- Mineral Wool: This is an effective sound absorber. It’s also fireproof, which makes it an ideal choice for recording studio construction.
- Plasterboard: This provides good acoustic properties and thermal insulation for your studio.
- Glass: This can be used to create a stylish, modern recording studio and will also help reduce sound reverberation.
- Gypsum board: This is lightweight yet effective at absorbing noise. It also provides acoustic insulation and thermal protection.
- Cinder block: While heavy, it’s also effective at soundproofing a recording studio.
Use sound-absorbing materials
The most common method is to use sound-absorbing materials like acoustic panels and bass traps. When choosing sound-absorbing materials for your recording studio, selecting the right type for the job is essential. Different materials are better at absorbing different frequencies of sound. Here are some tips on choosing the right kind of material:
- Acoustic panels should be used to absorb high-frequency sounds. They are typically made of fiberglass or another type of absorbent material and can be used to deaden noise reverberation on hard surfaces like walls and ceilings.
- It would be best if you used bass traps to absorb low-frequency sounds. They are typically made of foam or other porous material and are designed to absorb sound waves in the lower range of the frequency spectrum.
- You can also use sound blankets to absorb noise. These heavy, quilted blankets absorb sound waves across a wide range of frequencies.
- Materials like mineral wool and gypsum board are good at absorbing mid-range frequencies.
When selecting sound-absorbing materials for your recording studio, it’s essential to consider the needs of your specific space. Using the correct type of material can help attenuate unwanted noise and create a professional-sounding recording studio.
Use diffusers
Another way to achieve sound attenuation is through the use of diffusers. These are materials that diffuse or scatter sound waves rather than absorb them.
Diffusers can be made of wood, metal, or plastic and come in various shapes and sizes. By strategically placing diffusers around a room, you can effectively control which direction sound waves travel, reducing noise reverberation.
When choosing a diffuser for your recording studio, it’s essential to consider a few factors:
- The size of the diffuser: The diffuser should be large enough to cover the entire surface it’s mounted on.
- The diffuser’s shape: The diffuser should be rectangular or square to cover as much surface area as possible.
- The type of material: The diffuser should be made of a porous material like a foam to absorb sound waves effectively.
- The thickness of the material: The diffuser should be at least 6mm thick to ensure that it can absorb sound waves effectively.
- The material’s color: The diffuser should be matte black or dark to minimize reflection.
Seal gaps around the studio
Finally, it’s essential to seal any gaps around the studio. Holes can allow sound waves to enter or escape the room, reducing soundproofing effectiveness. You can usually find these gaps in windows, doors, or vents. You can use weather stripping or soundproofing material such as acoustic foam to seal these gaps.
You’ll need to use acoustic caulk and weatherstripping to seal gaps properly. Acoustical caulk is explicitly designed for sealing cracks in a recording studio and will provide the best soundproofing performance. It would be best to use weatherstripping around windows and doors to help reduce air leakage.
Sound attenuation is an essential consideration for any commercial recording studio. By constructing thick walls, using sound-absorbing materials like acoustic panels and bass traps, or employing diffusers to diffuse sound waves, you can create a recording space with minimal noise reverberation—and produce professional-sounding recordings.

